Written by Robert D, Bath Tub Man — Over 25 years refinishing tubs, sinks, and tile across Jacksonville and Northeast Florida.
I’ve refinished tubs in houses older than I am and tubs that were installed two years ago and already looked ten years old because of how hard our water is. After doing this for a living, the question I get most isn’t “how does refinishing work” — it’s “is this actually going to fix my tub, or am I wasting money.” That’s the question this guide is actually built to answer.
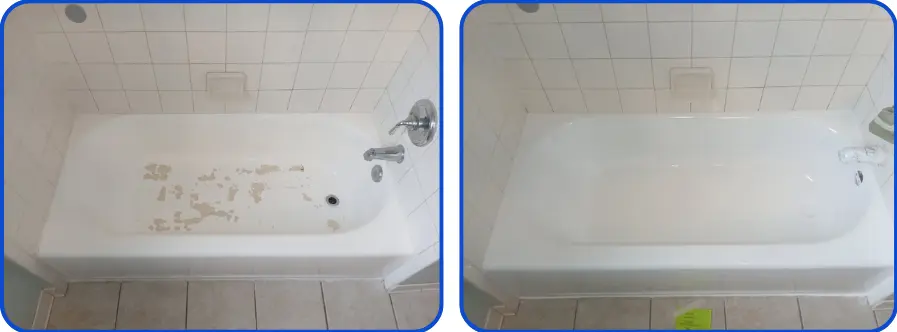
What Bathtub Refinishing Actually Is
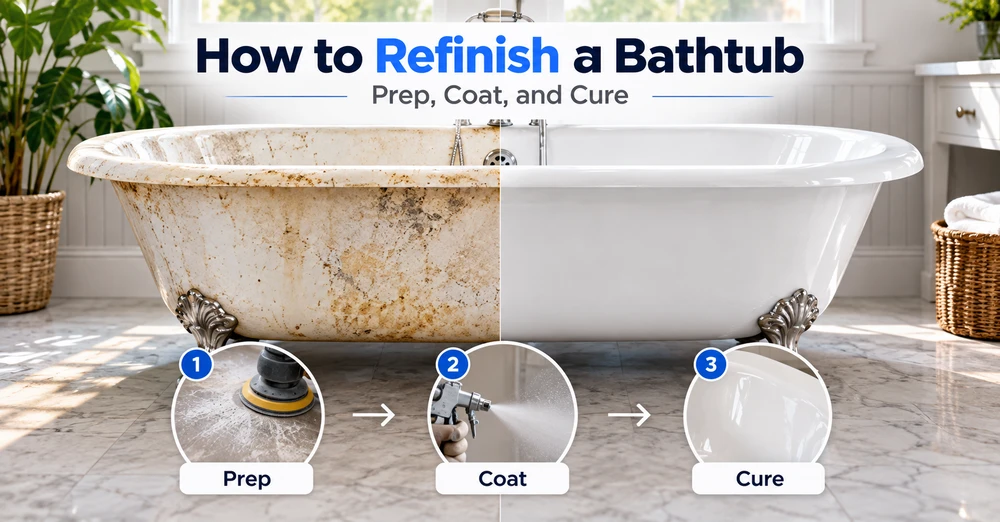
Refinishing — also called Bathtub Reglazing or resurfacing — strips the worn top layer of a tub’s surface, repairs whatever’s damaged underneath, and sprays on a new coating, usually a two-part acrylic urethane. It works on porcelain, cast iron, fiberglass, and acrylic. Each material needs a different prep approach, which is where a lot of DIY attempts and even some rushed professional jobs go wrong.
Done right, the tub looks new. Nothing structural changes — no tile comes out, no plumbing gets touched, and the bathroom is back in use in about a day instead of a week.
Is Your Tub Actually a Good Candidate?
Here’s how I sort this on a walkthrough, in about thirty seconds, before I even talk price.
Good candidates:
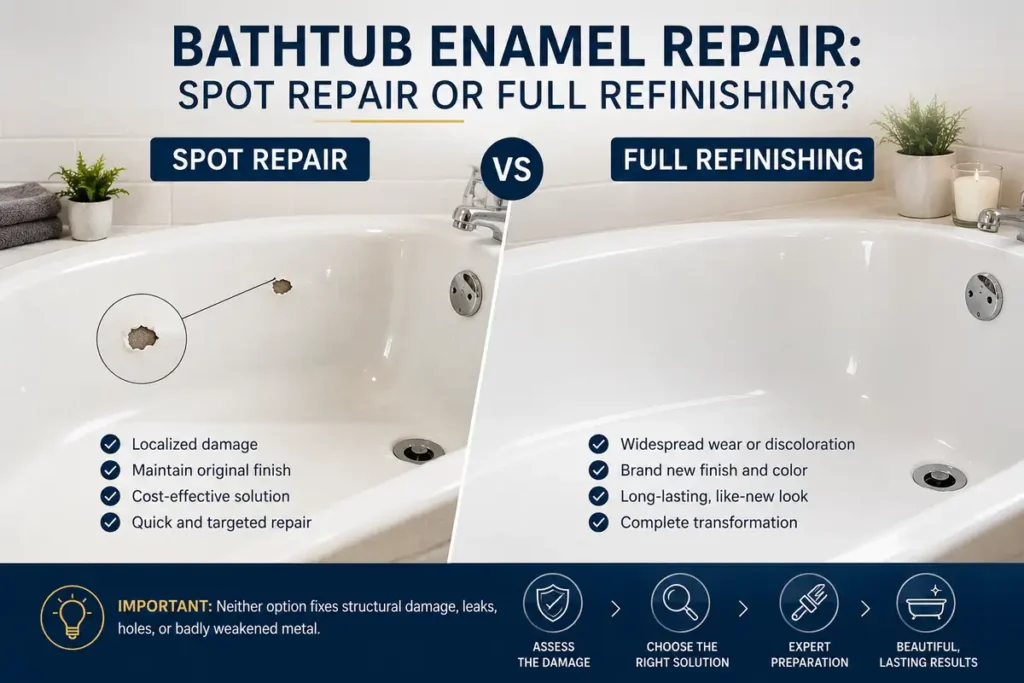
- Surface staining, dullness, or a color nobody wants anymore
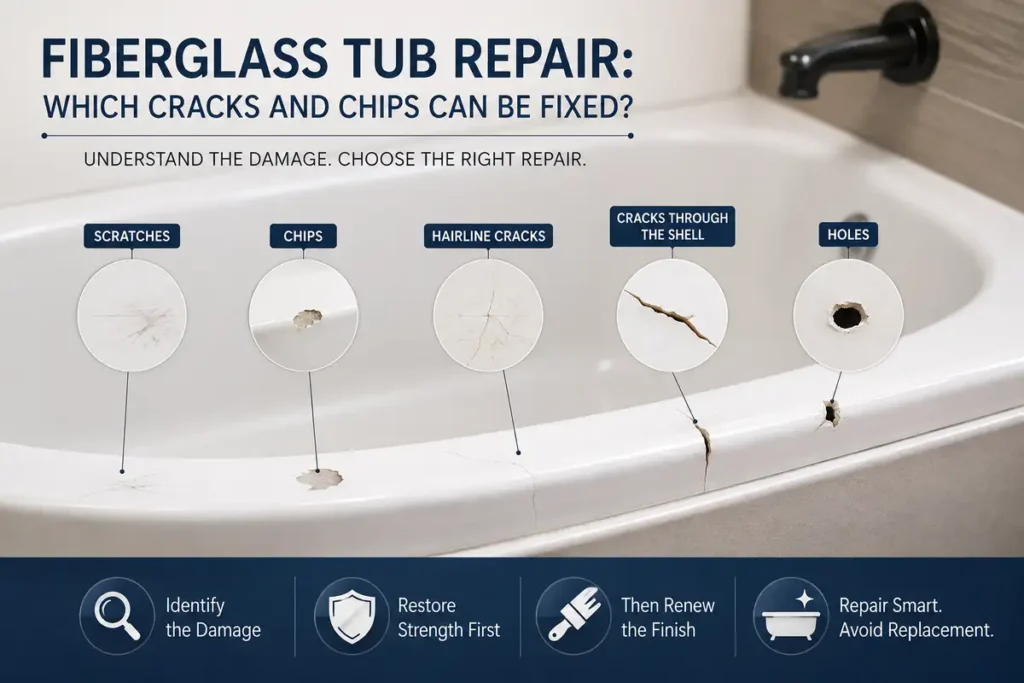
- Small chips, hairline cracks, light rust around the drain
- Rough, worn texture from years of cleaning products stripping the glaze
Poor candidates:
- Deep cracks or a base that flexes when you step in
- Water damage that’s reached the subfloor
- A tub that’s already been refinished more than once — the old coating layers start working against adhesion
One thing that catches people off guard: if a tub’s already been refinished before, doing it again usually costs close to double. The old coating has to be fully stripped, not just etched — two-part urethane doesn’t bond well to itself after it’s aged.
Florida adds two wrinkles I don’t see mentioned in most guides written outside this region. Our bathrooms run humid more months of the year than most of the country, and humidity specifically slows the final stage of curing — the point where the coating actually cross-links and becomes water-resistant. Second, our water is hard enough that mineral deposits build up faster here than in a lot of other markets, and if that film isn’t fully stripped during prep, the new coating ends up bonding to the mineral layer instead of the tub itself. I’ve seen jobs fail early for exactly this reason, and it’s almost always an invisible mistake at the prep stage, not a bad coating.
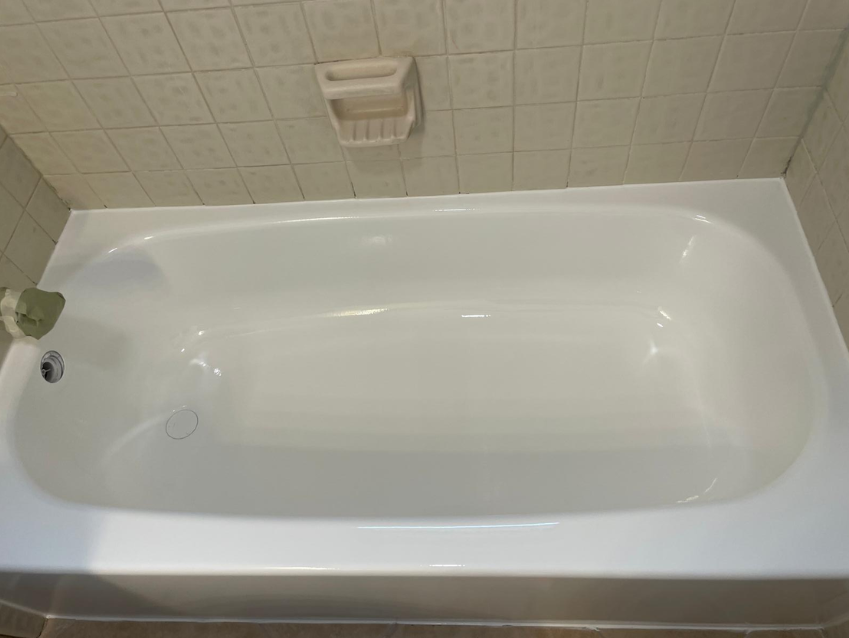
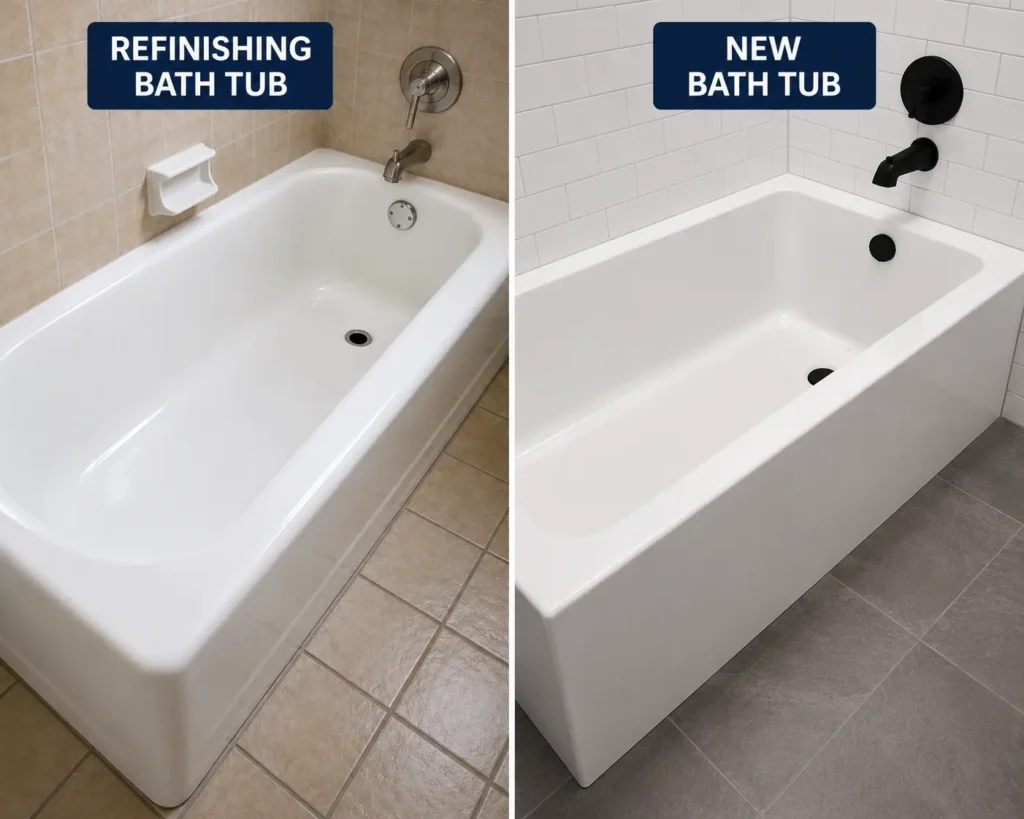
Refinishing vs. Replacement: What It Actually Costs
| Refinishing | Full Replacement | |
| Typical cost | $300 – $650 | $3,000 – $6,000+ |
| Time to complete | 1 day | 3–7 days |
| Demolition involved | None | Tile removal, possible plumbing changes |
| Expected lifespan | 10–15 years (properly cured, professional job) | 15–20+ years |
| Best fit | Cosmetic damage, discontinued tub sizes, budget-conscious updates | Structural damage, full remodels |
The lifespan gap is smaller than the cost gap, and that’s really the whole argument for refinishing. Most of the tubs I see that “look ruined” are structurally completely fine — they just need the surface addressed, and a $400 refinish gets a homeowner another decade out of a tub that a contractor might otherwise talk them into replacing for ten times the price.
DIY Kits vs. Professional Refinishing
Home-improvement stores sell brush-on epoxy kits for $50 to $150. I get asked about these a lot, usually after one has already failed.
| DIY Kit | Professional Refinishing | |
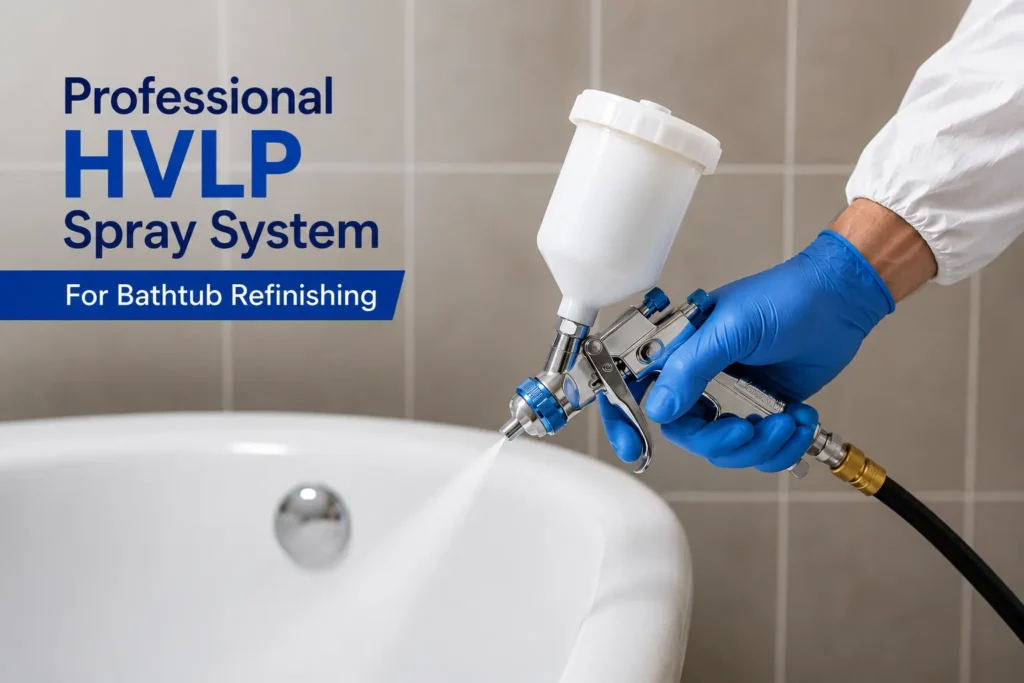
| Application method | Foam roller or brush | HVLP spray system |
| Surface prep | Hand sanding, light etching paste | Acid etch or full mechanical sanding, mineral-deposit strip |
| Curing environment | Open window, ceiling fan | Controlled ventilation, exhaust routed outdoors |
| Finish quality | Visible brush marks, uneven texture | Smooth, sprayed, uniform finish |
| Typical lifespan | 1–3 years | 10–15 years |
| Warranty | Usually none | 1 year (residential) / 90 days (rental & Airbnb) with Bath Tub Man |
The failure point isn’t really about someone’s skill with a paintbrush — it’s chemistry. A roller lays down a thicker, uneven film that skins over on top before the layer underneath finishes curing. In a humid bathroom, that half-cured layer stays soft longer than people expect, and that’s exactly when it starts peeling at the edges, usually within the first year. I’ve pulled failed DIY coatings off enough tubs to know it’s rarely about the person doing it carelessly — it’s the product and method working against them from the start.
The Process, Step by Step
This is the sequence I follow on every job, along with the parts that matter more than people assume.
Step 1: Strip Old Caulk and Protect the Room
Every trace of old silicone caulk comes out along the tub’s edge first. New coatings won’t bond over silicone residue — not even the small amount left behind by a quick scrape. Then the rest of the room gets masked off: walls, floor, vanity, toilet, fixtures. Overspray control matters as much as the coating itself.
Step 2: Deep Clean and Strip Mineral Buildup
A degreaser removes body oil, soap film, and general residue. In this region, I always run an extra pass specifically for mineral deposits before etching — skip that, and the etching step just roughens a layer of buildup instead of the actual tub surface, which quietly undercuts everything that goes on afterward.
Step 3: Etch the Surface
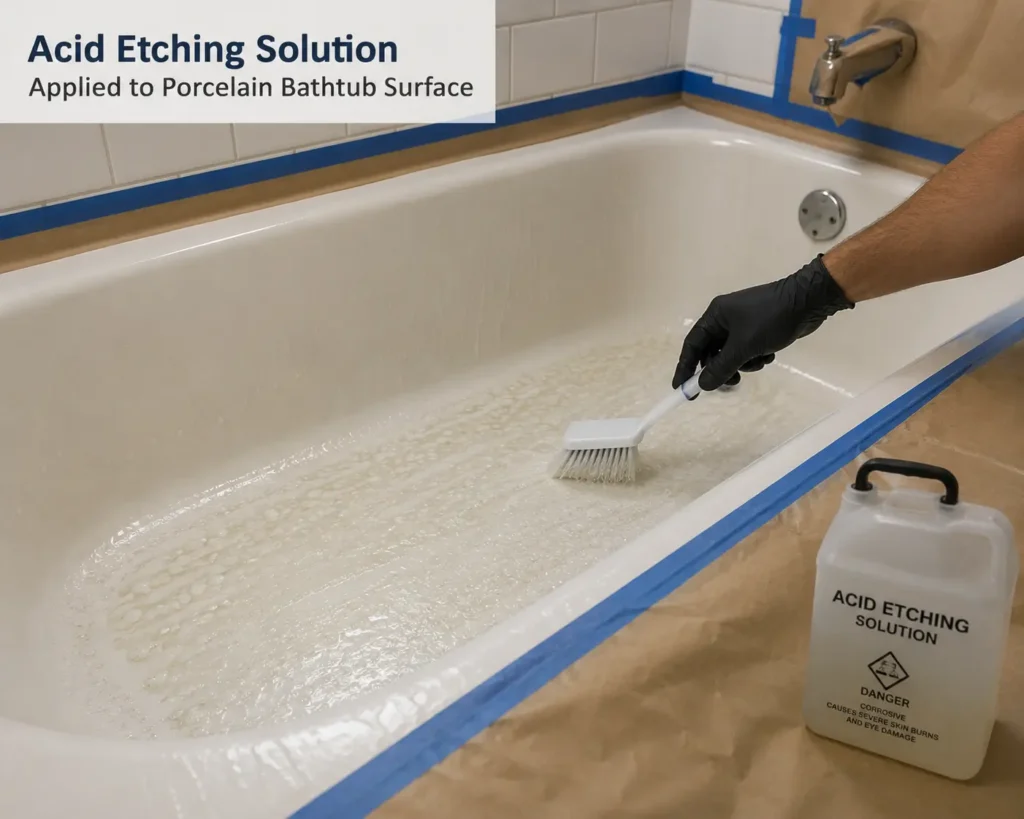
Porcelain and cast iron get acid-etched at a microscopic level so the coating has something to grip. Fiberglass and acrylic get mechanically sanded instead, since acid damages those materials rather than roughening them usefully. If I had to pick the single step that determines how long a job lasts, it’s this one — more than the coating brand, more than the number of coats.
Step 4: Repair Chips, Cracks, and Rust
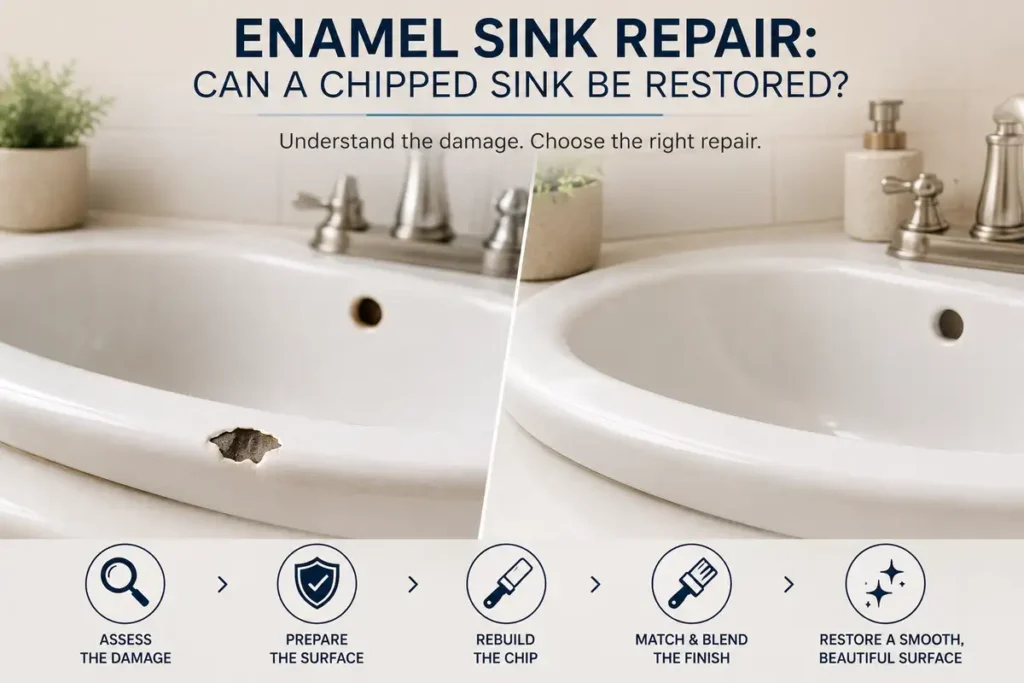
Two-part filler goes into any chips, cracks, or rust pitting. Once it’s cured, I sand it flush with 220-grit sandpaper until it disappears into the surrounding surface, then wipe the whole tub down to clear every bit of dust before any coating goes on.
Step 5: Bond, Prime, and Spray
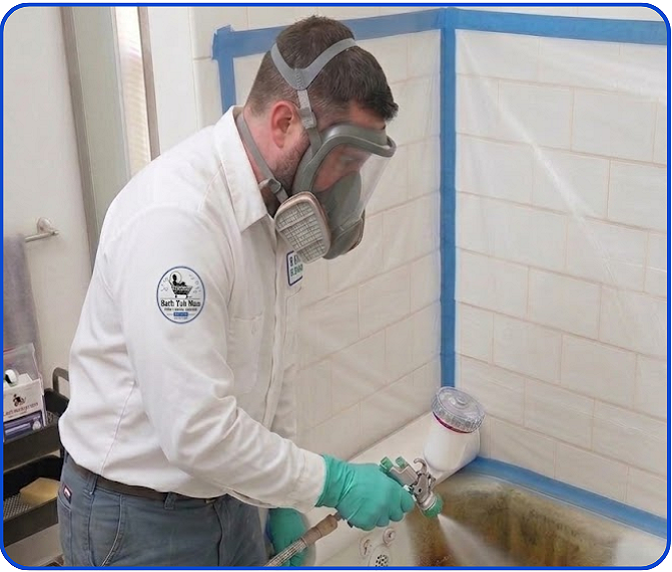
A bonding agent — usually silane-based — creates a chemical bridge between the tub and the new coating. The topcoat goes on in three to four thin passes with an HVLP sprayer, with flash time between coats. Thin layers take more time, but a thick single coat is exactly what causes drips, sagging, and an orange-peel texture. I’d rather spend the extra fifteen minutes.
Step 6: Cure — the Stage Most Guides Get Wrong
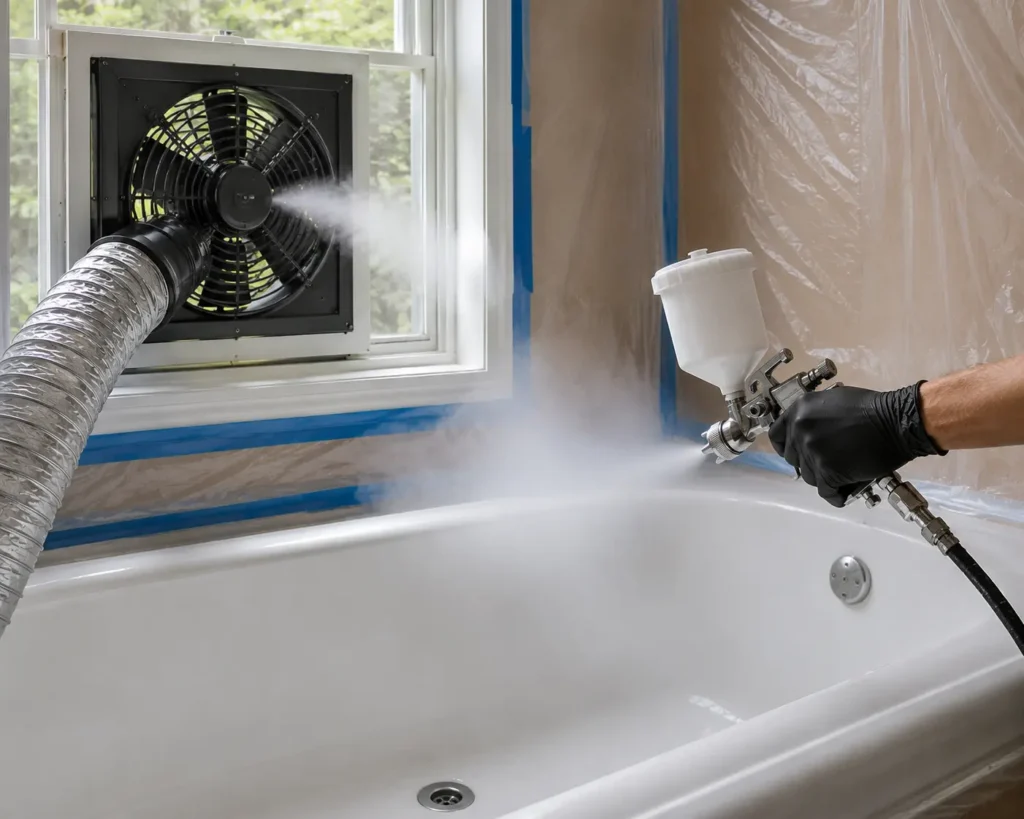
The finish is dry to the touch in 2 to 4 hours. That’s not the same as fully cured. The chemical cross-linking that actually makes the coating water-resistant takes closer to 24 hours under good ventilation, and can run longer in a humid, closed-up bathroom. I tell every customer the same thing: keep a fan on it, even overnight. It’s a small habit that has a real effect on how the coating holds up in year one.
What the Job Is Actually Like to Live Through
The technical steps are one thing. What it’s actually like in your house for a day is another, and I’d rather set expectations than have someone surprised.
The smell is noticeable — closer to fresh enamel paint than a typical cleaning product. It’s normal, and it clears over one to three days with a window open or a fan running. The tub is usually safe to use before the smell in the room is fully gone, so I tell people to keep that bathroom door open and ventilated even after the coating’s technically dry. The most common regret I hear afterward isn’t about the coating — it’s someone closing the room up to keep warm and ending up with the smell lingering for an extra day or two.
Four Mistakes That Cause Peeling — Ones I See Repeatedly
- Skipping the mineral-deposit strip. Hard water film is often invisible once dry, but it sits right between the tub and the coating, blocking adhesion with no visible warning.
- Rushing the cure in humid weather. A coating that feels dry after a few hours hasn’t necessarily finished cross-linking. Early water contact is one of the most common causes of peeling I see in this climate specifically.
- Skipping or rushing the etch. An unetched, slick surface is the single biggest cause of coating failure everywhere — humidity just makes it show up faster here.
- Poor ventilation during application and cure. Trapped solvents aren’t just a health issue — they slow the cure itself and weaken the final bond.
Maintaining a Refinished Tub Long-Term
A refinished surface isn’t fragile, but it responds differently to cleaning habits than the original factory finish:
- Stick to non-abrasive cleaners — dish soap or a standard bathroom cleaner without bleach or ammonia.
- Skip steel wool, scouring pads, and powder cleaners like Comet — they’ll scratch the topcoat over time.
- Run the exhaust fan after showers. In this climate, ongoing trapped humidity is harder on a refinished surface over the years, not just during the initial cure.
- Don’t leave suction-cup bath mats down permanently — trapped water underneath slowly weakens the bond in that spot.
Handled this way, I typically see refinished tubs go 10 to 15 years before they need attention again.
A Job From the Field
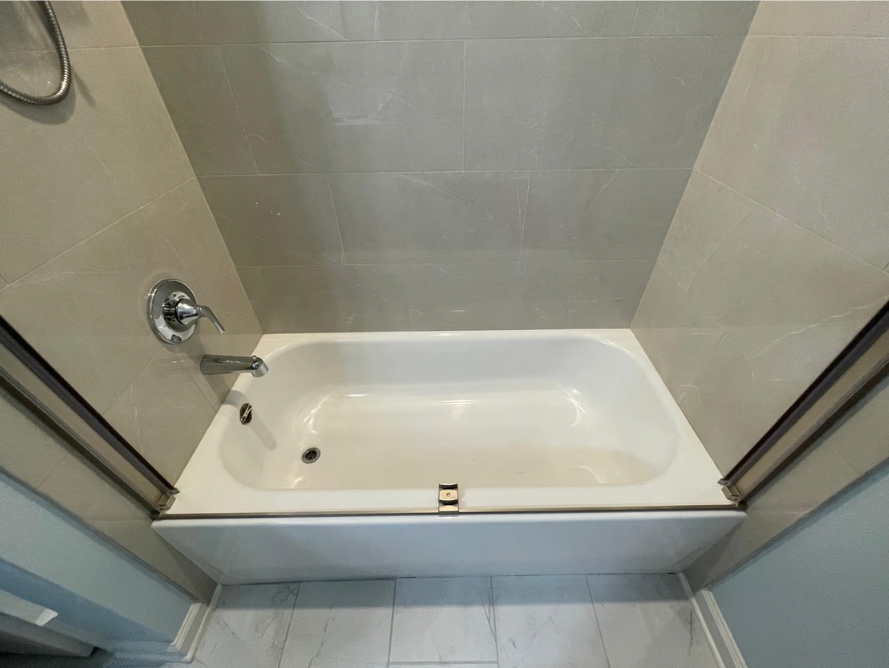
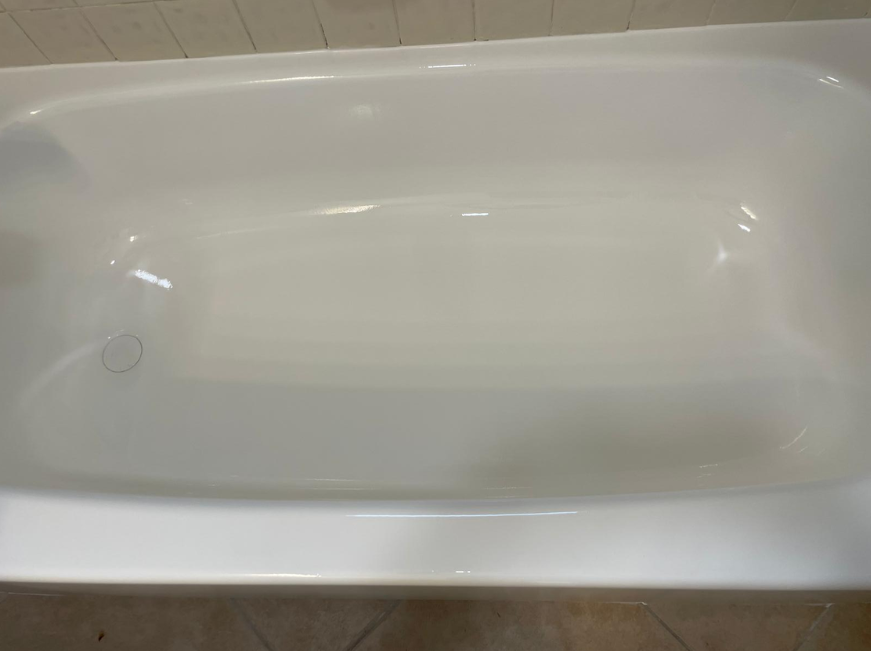
Last spring, I refinished a cast iron bathtub in a San Marco home after the homeowner was quoted $4,200 for a replacement because the tub’s size was no longer available. Instead, we removed the old caulk, repaired a few chips, stripped years of mineral buildup, and refinished the tub with a durable acrylic urethane coating using an HVLP spray system for $420. The job was completed in just one day, the original tile stayed intact, and the homeowner saved thousands of dollars while ending up with a bathtub that looked nearly new.
Frequently Asked Questions
How much does bathtub refinishing typically cost? Most jobs fall between $300 and $650, depending on the tub’s material, the extent of damage, and whether it’s being refinished for the first time. A second refinish on an already-coated tub usually costs more due to the added stripping step.
How long until the tub can be used? Dry to the touch in 2 to 4 hours; generally safe for water within 24 hours, though a humid, poorly ventilated bathroom can extend that.
Does humidity really change the outcome? Yes. It doesn’t change the coating’s chemistry, but it slows how quickly trapped moisture escapes during the cure, which is why ventilation matters more here than in drier states.
Can a refinished tub be refinished again? Yes, but expect the cost to be close to double the first job, since the old coating has to be fully stripped rather than simply etched over.
Is refinishing safe if I have kids or pets at home? The fumes during application and the first day of curing are strong enough that I recommend keeping people and pets out of that bathroom, door closed, fan running, until the smell has mostly cleared.
Making the Call
Most tubs that look “done for” aren’t structurally done at all — they’re wearing a finish that’s past its life, not a tub that’s failed. Refinishing solves that specific problem well, cheaply, and fast, as long as the prep work — etching, mineral stripping, a real cure period — actually gets done instead of rushed.
If you’re not sure which category your tub falls into, I’m happy to take a look. Call Bath Tub Man at +1 904-744-3999 or request a free quote and I’ll give you a straight answer on whether refinishing makes sense for your specific tub.